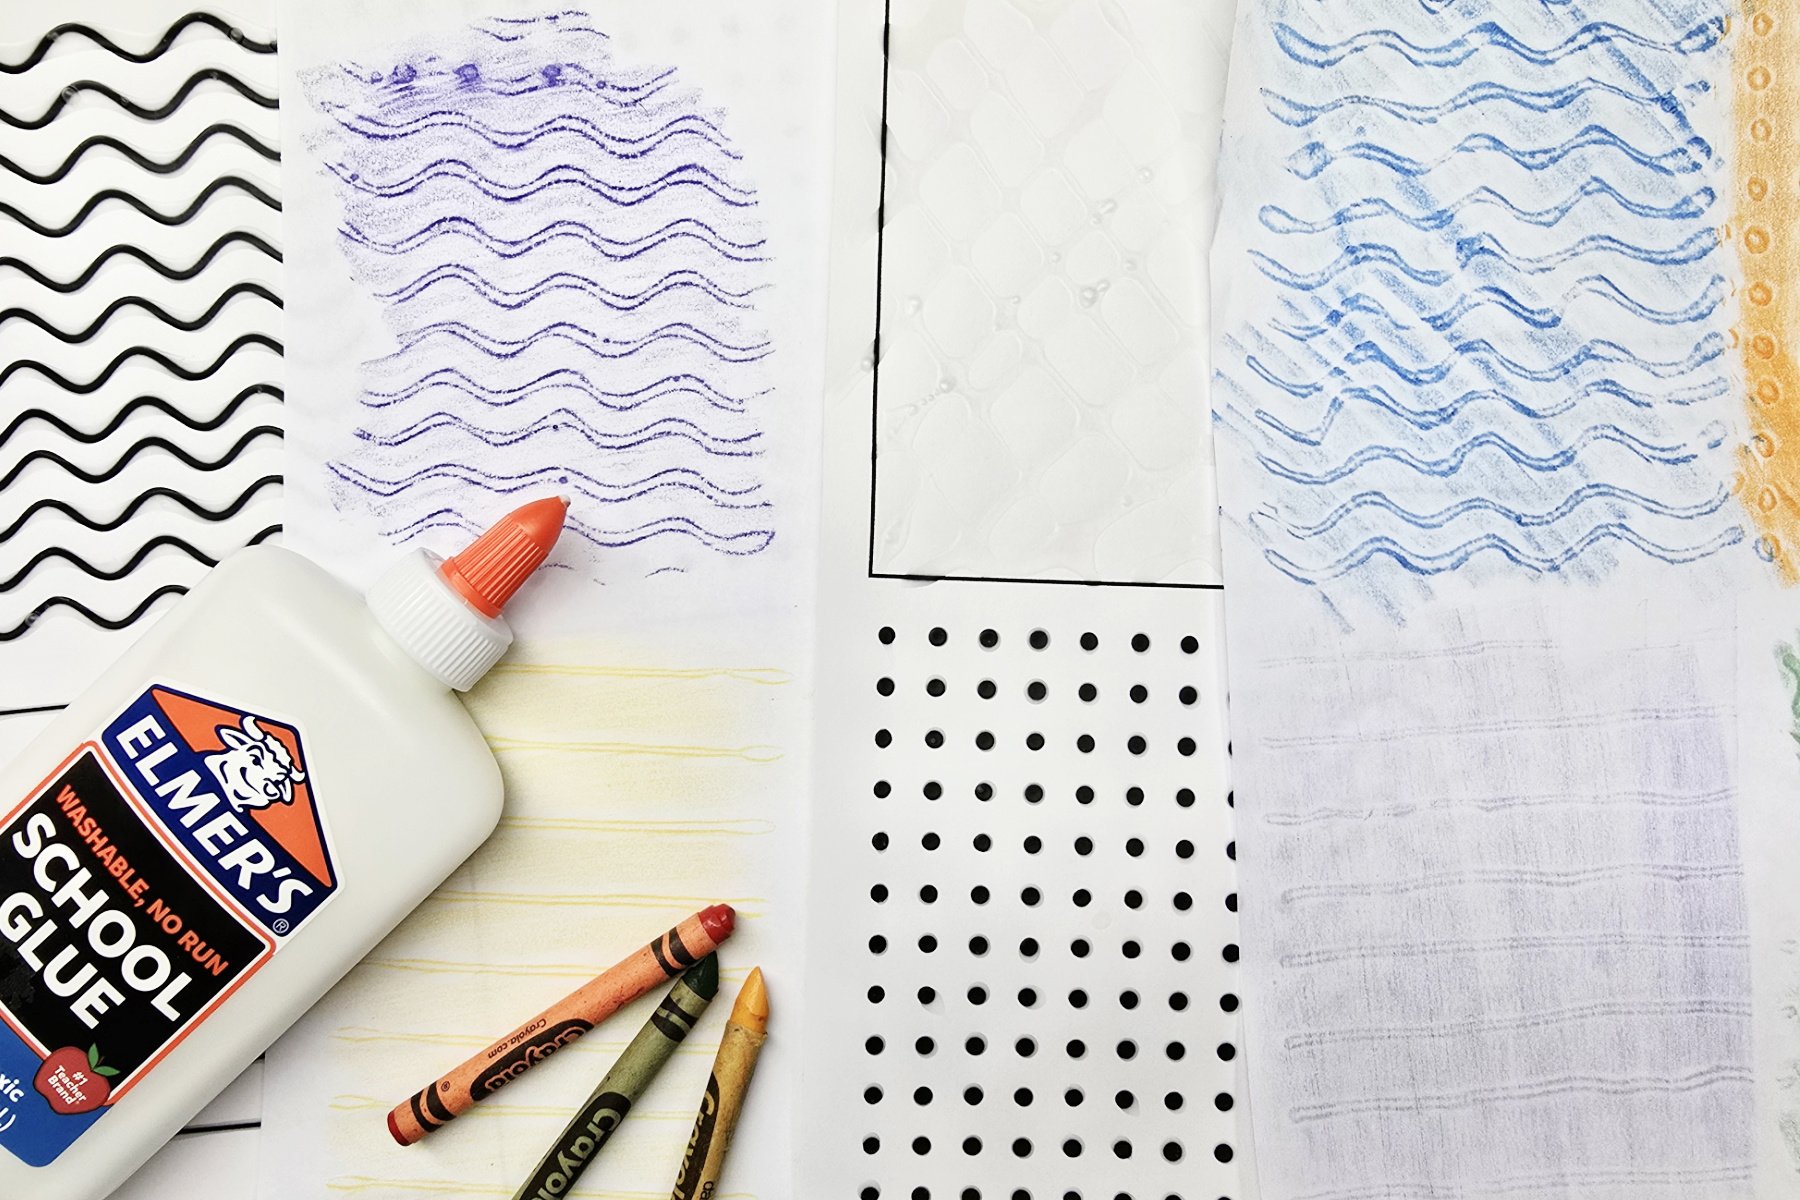
School-aged kids will learn how to use ordinary school glue to create textures in this fun project. This simple technique can easily be used at home or in the classroom.

Creating your own textures
Artists of all ages love to explore textures around them. We begin creating texture rubbings at a young age by coloring over a leaf that is pressed under a piece of paper. This project opens the door for kids to create their own textures with no limitations! Kids begin by simply tracing the shapes on the template using their liquid glue, and then are encouraged to explore creating their own patterns.
Related: Learn more about Textures with our free printable.
Supplies Needed to Make Our Glue Texture Art Project

- Glue Texture Printable – Printed on Cardstock (Free Download Below)
- Copy Paper
- Liquid Craft Glue
- Crayons
Download the Glue Texture Printable Here
Our free Glue Texture printable gives kids a chance to practice control in their glue designs. It also sparks creativity for patterns they can create themselves on a separate piece of cardstock or cardboard.
Directions to Make Glue Textures
Step 1

First, kids use liquid craft glue to trace over the lines and dots on the glue texture printable. The empty space is for kids to explore their own patterns and designs. Set project aside overnight to fully dry.
Step 2

Then, place a piece of copy paper on top of the dry texture template. Use the side of a crayon to color over the dried glue to create texture rubbings.
Finished Glue Texture Art Project

I love how easy it is to create your own textures with this project! Since texture rubbings are are made on paper, they can easily be displayed in your preferred style or crafted into cards, collages, and more!
Our Experience Making this Glue Texture Art Project
This project is a great way to encourage kids to explore texture rubbings. I love that it also helps kids slow down and focus on controlling liquid glue. Encourage kids to use their texture rubbings to create other works of art.
Aside from waiting for the glue to dry, this is a quick method to create texture plates that can be used multiple times in future art projects.
Prep Time
5 minutes
Active Time
20 minutes
Additional Time
4 hours
Total Time
4 hours 25 minutes
Estimated Cost
$1
Materials
- Glue Texture Printable – Printed on Cardstock
- Copy Paper
Tools
- Liquid Craft Glue
- Crayons
Instructions
- Use liquid craft glue to trace over the lines and dots on the glue texture printable. The empty space is for kids to explore their own patterns and designs. Set project aside overnight to fully dry.
- Place a piece of copy paper on top of the dry texture template. Use the side of a crayon to color over the dried glue to create texture rubbings.
Notes
Glue Texture Art Variations
- Encourage kids to create their own patterns on a blank piece of cardstock or cardboard.
- Use these texture rubbings to create other forms of art and crafts such as collages or cards!
- Create holiday or seasonal themed patterns.
Glue Texture Art Variations
- Encourage kids to create their own patterns on a blank piece of cardstock or cardboard.
- Use these texture rubbings to create other forms of art and crafts such as collages or cards!
- Create holiday or seasonal themed patterns.
Other Fun Texture Art Projects from Kids Activities Blog
Did your kids enjoy creating textures from glue? What designs did they create?

