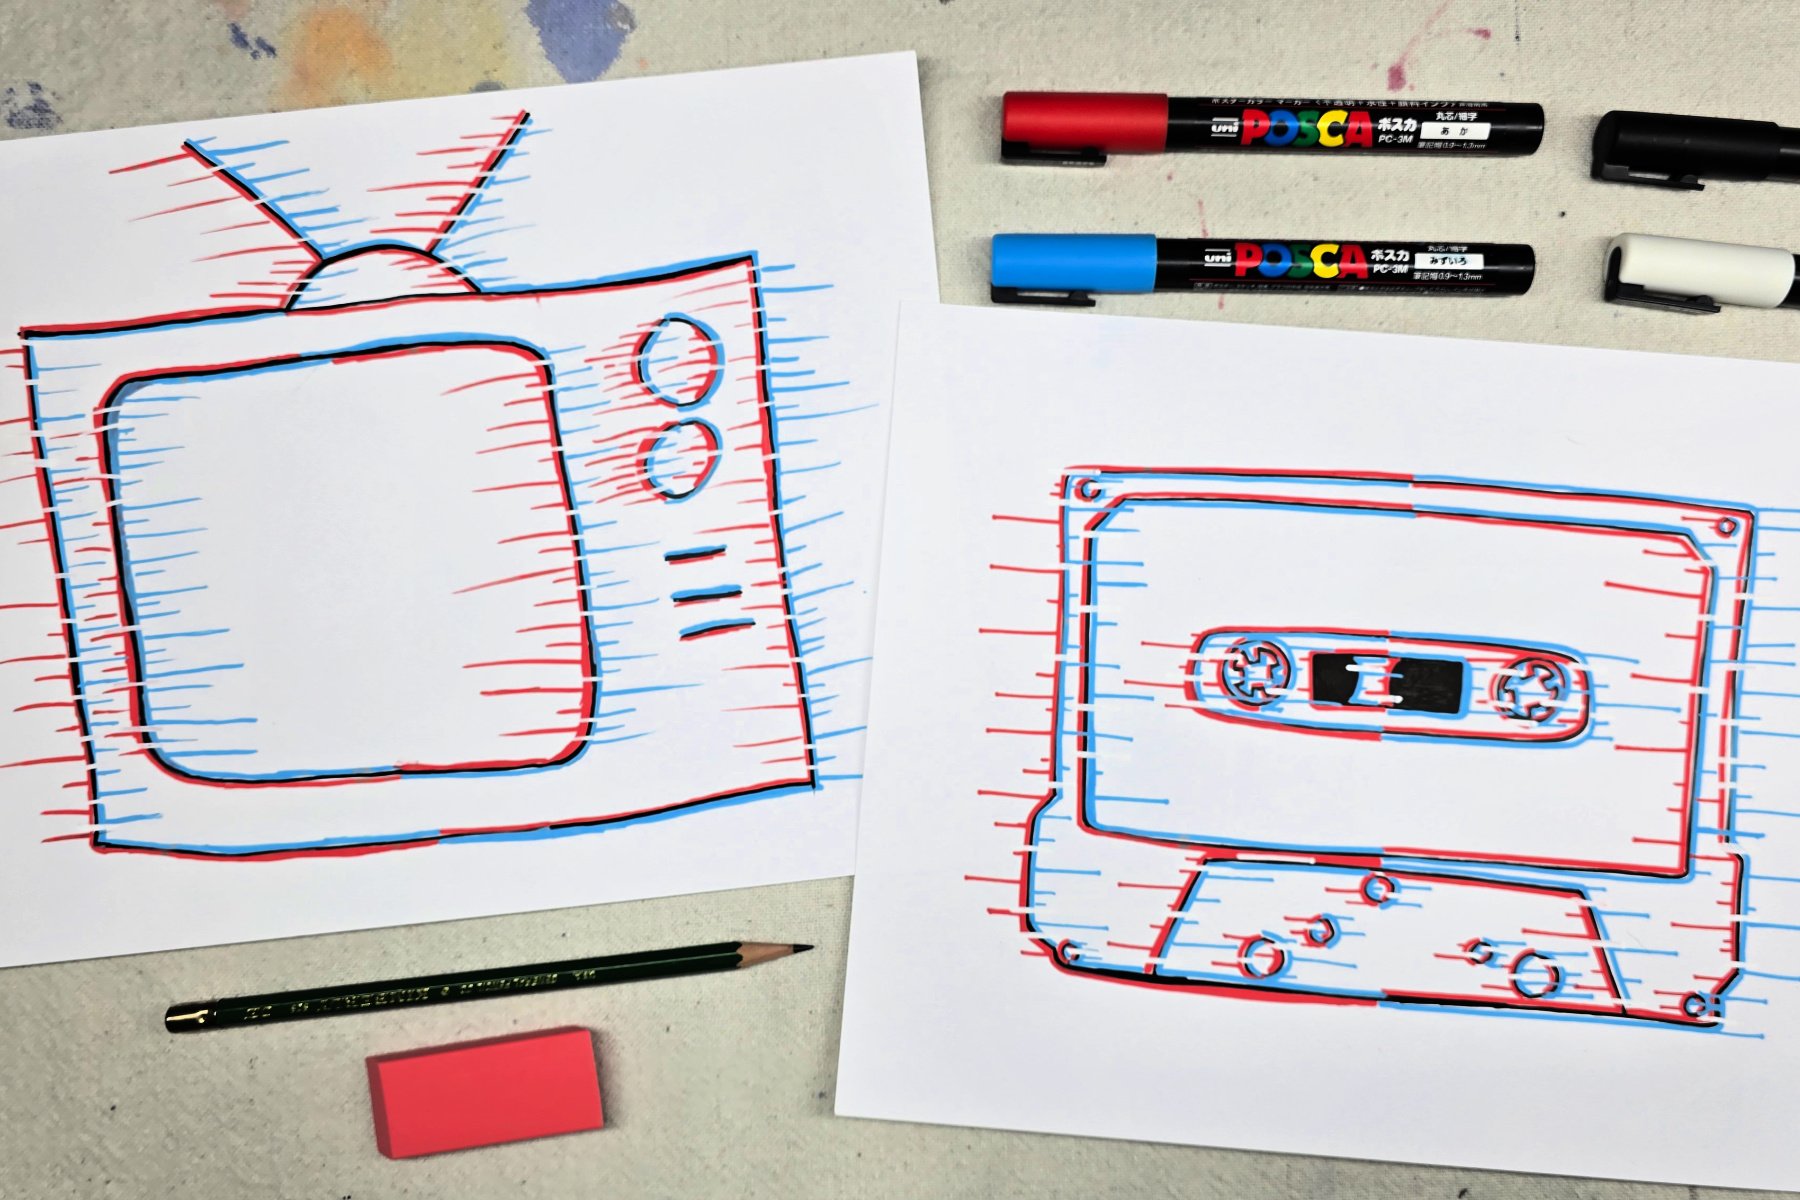
School-aged kids will learn to create glitch art in this fun project. This basic technique can easily be used at home or in the classroom.

Glitch Art
Artists create glitch art by giving their artwork the illusion of digital or analog errors. These glitches can be created in various mediums, styles and techniques. Today, we are exploring a basic glitch art technique using acrylic paint pens.
Related: Also use paint pens to create neon art.
Supplies Needed to Make This Glitch Art Project

- White Cardstock
- Paint Pens: Red, Blue, White and Black
- Pencil
Directions to Make Glitch Art
Step 1

First, use a pencil to lightly sketch a design on cardstock.
Step 2

Next, use the black paint pen to trace sketch.
Step 3

Then, use a red paint pen to draw along the left side of your black lines. If horizontal lines are present, just continue drawing around those lines until you reach the center point of your sketch. This will result in red lines being drawn on the outer edges of our design on the left side, and the inner edges of the design on the right side.
Step 4

Next, you will use the blue paint pen to draw along the right side of your black lines. If horizontal lines are present, just continue drawing around those lines until you reach the center point of your sketch. This will result in blue lines being drawn on the inner edges of our design on the left side, and the outer edges of the design on the right side.
Step 5

Switching back to the red paint pen, draw various length horizontal lines coming out from the red lines drawn in step 3.
Step 6

Switching to the blue paint pen, draw various length horizontal lines coming out from the blue lines drawn in step 4.
Step 7

Finally, use the white paint pen to draw horizontal lines over some sections of your design to complete the glitch effect.
Finished Glitch Art

These projects are so interesting to look at once they are finished! I love that this technique is easily achieved with a few basic steps and supplies. Since these projects are made on paper, they can easily be framed, clipped, or displayed in your preferred style.
Our Experience Making this Glitch Art Project
We enjoyed creating this project and seeing how a few simple steps work together to create such an interesting illusion. We did discover that design choice is an important factor in this project with simpler designs being most desired. For younger students, I would recommend starting with designs with even fewer details than that which we created. As the project progressed, the color and lines could begin overlapping to cause a bit of confusion for some students.
Prep Time
5 minutes
Active Time
20 minutes
Total Time
25 minutes
Difficulty
Medium
Estimated Cost
$1
Tools
- Paint Pens: Red, Blue, White, and Black
- Pencil
Instructions
- Use a pencil to lightly sketch a design on cardstock
- Trace sketch with black paint pen.
- Use a red paint pen to draw along the left side of your black lines. If horizontal lines are present, just continue drawing around those lines until you reach the center point of your sketch. This will result in red lines being drawn on the outer edges of our design on the left side, and the inner edges of the design on the right side.
- Use the blue paint pen to draw along the right side of your black lines. If horizontal lines are present, just continue drawing around those lines until you reach the center point of your sketch. This will result in blue lines being drawn on the inner edges of our design on the left side, and the outer edges of the design on the right side.
- With the red paint pen, draw various length horizontal lines coming out from the red lines drawn in step 3.
- With the blue paint pen, draw various length horizontal lines coming out from the blue lines drawn in step 4.
- Use the white paint pen to draw horizontal lines over some sections of your design to complete the glitch effect.
Notes
Glitch Art Variations
- See how the project appears using various colors and designs.
- Try the glitch effect on black paper while using red, blue, and black paint pens.
- Project may be able to be completed using traditional acrylic paints (allowing for dry time between steps) or markers with a white gel pen or correction pen.
Other Fun Art Projects from Kids Activities Blog
Did your kids enjoy creating glitch art? What design did they choose to draw?

